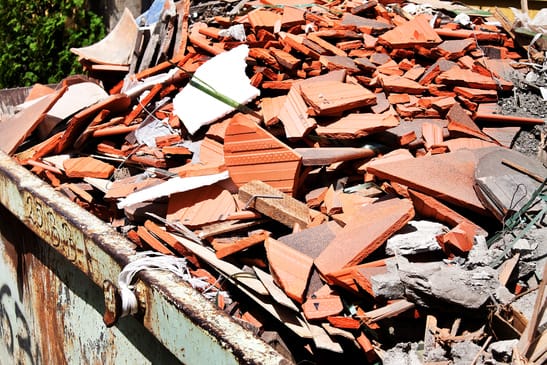
These disasters generate all sorts of debris. Fires eat into support beams and siding, causing catastrophic structural collapses and leaving mountains of ash, soot, and charred belongings in their wake. Floods leave behind sopping piles of water-logged possessions, short-circuited electronics, rotted wood, ruined flooring, and crumbling drywall. Hurricanes and tornadoes make any household object a deadly projectile, and dust your property in shattered glass. Hostile winter storms can cause damage similar to that experienced in floods as pipes burst, but hails and snow can also bring down gutters, crack windows, and ruin landscaping features.
The sheer amount of debris that is generated by these disasters can be staggering. A 1994 earthquake in Los Angeles left 7-million cubic yards of disaster debris for the community and municipality to deal with. Hurricane Andrew blew through Florida in 1992 and left 43-million cubic yards of cluttered, contaminated chaos in its wake.
What is a homeowner supposed to do with all of this debris?
Thinking about how to responsibly dispose of these mountains of fresh debris can seem like the last of your worries immediately following a disaster. Who wants to think about responsible disposal when their family, friends, community, and home security are all in jeopardy?
In the past, debris from these kinds of disasters was buried or burned within the community. Fortunately, our environmental awareness has since evolved, and these dangerous practices are no longer allowed. Nobody wants to burn contaminated debris and inhale the resulting fumes. Nobody wants to risk contaminating farmers’ fields and drinking water by burying unsafe substances. And yet, few people know any other way of disposing of these unwanted debris.
Steamatic Demolition, Renovation, and Reconstruction clean up services can help.
Steamatic has more than 40 years of experience taking care of communities who have been wracked by disastrous events. Our rapid response team is standing by 24/7 to help in your clean-up effort, and our process has been calibrated for maximal efficiency over our decades in service to Canadian communities.
Our inspection team is highly experienced when it comes to accurately estimating the costs of your clean-up, and can give you a no-nonsense quote within hours of arriving on scene. We have access to a vetted professional network of electricians, plumbers, carpenters, roofers, heating specialists, and other craftsman who can be called upon to accommodate any demolition, renovation, or clean-up need that may arise. Our Steamatic experts will manage the entire clean-up project so that you can concentrate on more pressing concerns of home security and the well-being of your loved ones. We emphasize a caring and professional approach that ensures a thorough clean-up without any risk of losing or damaging any of the items you wish to keep.
What can my community do to speed recovery and reduce clean-up costs?
There are several preventative and reactive measures that communities can take the minimize their overall clean up costs and time commitment:
The efficacy of community clean-up efforts is questionable when left entirely to the affected community. Untrained workers risk hurting themselves or aggravating existing structural damages with their clean-up efforts, and emotional attachment to the properties being worked on can make things painful and slow. For these reasons, the best course of action to take if you live in a community affected by a natural disaster that has left tons of debris is to contact Steamatic.
Take advantage of our 40-plus years of experience in demolition, renovation, and reconstruction services, and find out why stricken Canadian communities have turned to us for years.
 Fight Impossible Ink Stains at Home with Steamatic
Solvent Cleaners
Solvent cleaners are a great first attack against non-water based ink stains. A stain from a ballpoint ink pen, or a permanent ink stain, can be remedied with 1 of these solutions:
Use a terry cloth to blot up the stained area. Once the stain has been removed, you can wash the item as you normally would. You may need to repeat this step several times, and if that does not suffice, you can continue on to the next tip.
Shampoo
if the previous method did not fully remove your stain, then shampoo would be your next method of attach. Make sure you have a heavy duty shampoo for this- look for “clarifying shampoo” if you’re buying a new bottle. Tale a paper towel and place it on your stain. Soak up the area with a bit of shampoo and allow it to rest for 10 minutes minimum. Now, blot the stain and you will notice it getting lighter and lighter. Use a clean cloth to continue washing the area. Then, wash the item as you normally would.
Dish-washing Liquid
Lastly, another method uses dish-washing liquid, and is especially effective against ink stains that have already dried. Mix 2 parts detergent with 1 part alcohol. Soak your ink stain for at least 10 minutes and then rinse with hot water. Most importantly, make sure to wash your garment right after this cleaning!
 Steamatic Maintenance Tips for Immaculate Marble Floors
Marble Floor Cleaning Faux-Pas
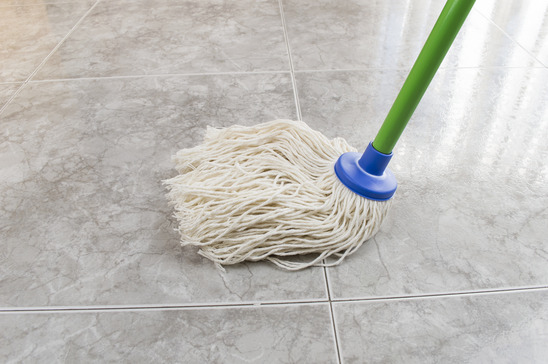
The vinegar and warm water solution we have mentioned in other blogs is a nearly all-purpose cleaner that is versatile and gentle enough to handle most tasks around the house. However, be warned that you should never use vinegar on marble floors. Marble is very porous and dissolves easily when it comes in contact with vinegar. You will ruin the finish and have permanent scratches and etches in the marble. Instead, use pH neutral cleaners. These are mild and gentle, and will not damage the tile.
How to Care for and Clean Marble Surfaces
 Steamatic Solutions for a Safe and Mold-Free Shower
Homemade Shower Cleaning Recipes
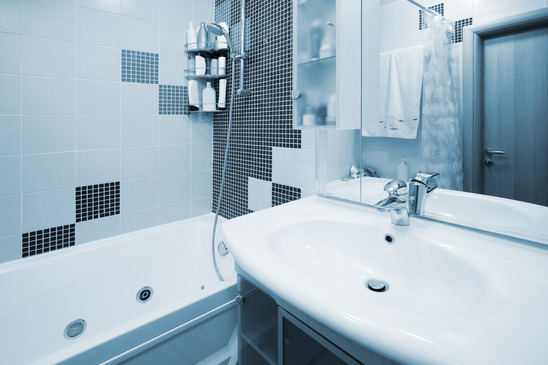
There are a wide variety of store bought cleansers available, but who can argue against the natural, homemade remedies that pack punch? Simply mix a 50/50 solution of vinegar and warm water in a spray bottle. Spray on areas that need to be cleaned (this can be used on all areas of the bathroom). Let sit for a few minutes and then wipe away! Simple as that. Vinegar is acidic, antibacterial, antiviral, and a germ fighter, which helps sanitize your shower. It also is a deodorizer, which will remove odours.
Shower Cleaner for Heavy Duty Jobs
For this, we will continue to use vinegar, because it is such an effective and natural remedy. Mix a ratio of 2:1 white vinegar and warm water. Add a tablespoon of dish detergent. Shake and spray on hard water stains. This will need to sit longer; at least half an hour. Then, rinse and wipe.
Mold and Mildew Cleaning
If you have mold or mildew growing in your shower, there are steps you can take to rid yourself of these issues. Mix 1/4 cup bleach and 3/4 cup water in a spray bottle. Spray on the affected area. Let is sit for a few minutes and then scrub, rinse, and dry. Make sure to have some windows open and the bathroom fan on when using bleach and ammonia. It can cause eye irritation.
 4 Ways to Clean Your Grout and Revitalize Your Bathroom
Keep Up With Cleaning
Make a solution of 50/50 vinegar and warm water. Mix the solution in a spray bottle and spray the grout. Let it sit for at least five minutes. Use a brush or toothbrush to brush the grout. This does not have to be extensive or tiring, if you keep up with doing this cleaning periodically. Rinse when you are done brushing.
Stains
The vinegar and water solution might not be tough enough to get rid of stains on grout. If you have tried it and have found results, then try a diluted solution of chlorine bleach. Note: This is only for white grout!
Stubborn Stains
Oxygen bleach is a sodium per-carbonate and is a non-toxic cleaning agent that is just as effective as harsh bleach. It is very easy to use and works great on heavy duty grout stains. Mix it with warm water and let it dissolve before using. Spray over stained area and let it sit. After five minute you can wipe the area clean.
Maintaining is Key
Make sure to wipe down all counter and shower tiles after each and every use. This is important after showers and such as it will decrease the amount of moisture and lessen the chances of mold. If you have a bathroom fan, utilize it! Keeping the fan on will reduce the moisture afterwards.
 6 Tips to Fight Pet Stains in the Home
Important Note: When cleaning pet urine, make sure not to use ammonia! This is sometimes recommended for pet stains, but it will likely give you more problems than solutions. Ammonia will leave behind a residue that you will never be able to fully remove. Furthermore, it will likely worsen the odour from the stain!
Urine Stains
Urine Odour Removal
If you have cleaned up all the messed and stains and still find a distinct urine smell, more needs to be done. The trick here is to find the stains that are not visible, with the use of a black light. Turn off all the lights in the room and wave your black light back and forth from the floor, about 12 inches off the ground. Stains will illuminate, and you can remove them using the same tips above.
 5 Steamatic Strategies for Speedy and Pain-Free Cleaning
Take some advice from Steamatic cleaning professionals and stop suffering while you clean!
Eliminate clutter
Try to get rid of as much clutter as you can. Take a survey of your knick knacks and trinkets and ask yourself if they are worth keeping. You can donate it or give it away which, will help keep the home look cleaner, tidier and more comfortable to live in. Additionally, decluttering your home makes it much easier to reach nooks and crannies that would otherwise be inaccessible.
Organize, organize, organize!
When everything has a place, it is much easier for you on cleaning days. Not only will your daily organizing be quicker, putting your cleaning supplies away in specific places will allow for a more efficient cleaning when you decide it’s time.
Keep a cleaning schedule and stick to it.
Having a cleaning schedule will not only help you stay organized and on task, but it will also help your plan your week ahead. If you dislike cleaning on weekends, you can simply schedule your cleaning tasks during the week. This way, you will keep your weekend free for relaxation as opposed to heavy cleaning.
Efficiency is key
Having an efficient system will make cleaning go by quicker and will leave you feeling a heavy sense of accomplishment. An idea for you is to try to completely finish cleaning one room before moving on to the next. This will leave you less stressed by allowing you to easily mark your progress as you make your way throughout the entire home.
Keep clean as you go
Over time, messes accumulate so it is to your benefit to do a thorough clean during the week as opposed to tackling it all on a day you are not prepared to clean. Before you know it when your attempt to clean there will be much less work to do and a lot more time for you to enjoy.
 Steamatic Suede Treatment Tips: 6 Do’s and Don’ts
 Removing the Hidden Contaminants In Your Drapery
When cleaning your drapery it is important to determine what type of fabric it is before you start cleaning. Cleaning your drapery the same way you would your laundry will shrink it, leaving you with two other options – have it dry cleaned, or clean by hand.
If you decide to hand wash your curtains the best thing to do is wash them in cold water, avoid putting them in the washer and be sure to hang dry them when you are done.
How do I hand clean my drapery?
If your fabric indicates “dry clean only” but you would like to clean it at home, you can follow these 4 simple steps. If you do not achieve the level of cleanliness you desire call the nearest professional.
How often should I clean my drapes?
There are different time spans for cleaning the drapes depending on what facility you are cleaning. Typically; homes, hotels, hospitals, restaurants, banquet homes and nursing homes are required to clean their drapery at least once a year.
It is more likely that for facilities such as; universities, funeral homes, retirement homes, and resorts that they have their drapery cleaned every three years. Theatres and school drapery usually lasts longer and experts recommend that it is cleaned every five years.
Why clean the drapes?
Drapes, curtains and blinds all have one thing in common they are filters for absorbing airborne pollutants, dust, and other contaminants that travel through the air. Even drapes that are not visibly dirty require cleaning to prolong their lifespan. Drapery cleaning removes dust and allergens and can have an immediate impact on improving air quality significantly.
Cleaning your drapes rejuvenates the look of your home and is guaranteed to ensure better health of the people in your household.
If you have tried to wash your drapes and you need them professionally cleaned don’t hesitate to contact Steamatic professionals to have your drapes smelling, and looking clean again in no time!
 Dry Ice Blasting: An Eco-Friendly Cleaning Method
What is Dry Ice Blasting?
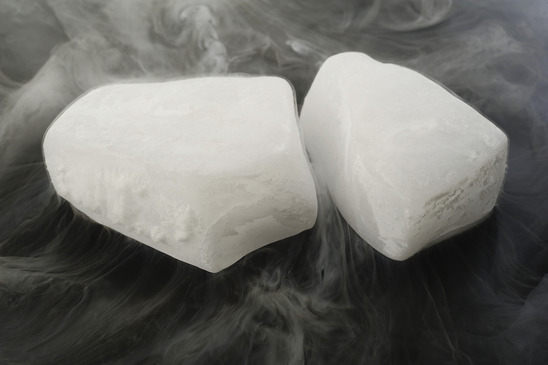
Dry Ice Blasting is a cleaning technique where dry ice crystals are blasted on to a dry surface to be cleaned. With this method of cleaning, ice crystals evaporate into gas almost immediately, there is no wet leftover residue and there are certainly no unpleasant odors left behind.
The dry ice creates a micro-thermal shock which breaks up any grime or dirt. The high pressure air stream removes the dirt from the surface, while the dry ice pellets vaporize, only excess debris is left to be wiped away.
Potential uses for Dry Ice Cleaning
Benefits of Dry Ice Blasting
Dry-ice blasting pellets are non-toxic, non-hazardous, produce no secondary waste, is safe for the environment and the equipment is safe to use.
The best thing about Dry Ice Blasting is that it does not contribute to the greenhouse effect. No waste is disposed in the Dry Ice Blasting process which makes it a cost-effective cleaning option.
If you choose to use an ice blasting approach to cleaning it will help prevent extended cleaning and maintenance in the future as well.
